Showing posts with label painting. Show all posts

Friday, November 6, 2015

Inktober Roundup

This year, I finally did Inktober (for the first time)! If you're not familiar, it's a challenge where you complete and share one piece of art made with ink every day of October. I definitely enjoyed it, though if I did it again, I'd probably use more color (all black ink got a bit boring after a while, whoops!). You can view all of the full-sized ones on my tumblr if you're so inclined. (Also there are some originals for sale at my etsy!)

Did anyone else do Inktober? Were you successful?

Wednesday, October 21, 2015

Return

Well, after over two years, it's official - I've returned to this blog.

I can't believe it's been so long! Where does the time go? I got distracted by work and other websites and completely neglected this little blog. Well, no longer. If anyone's still with me, thank you!

I'm rusty on this blogging thing, but hopefully I'll get back into the swing of things. I've been updating my little art tumblr like mad lately, though. I recently quit my job and the goal has been to have one piece of art for every day spent unemployed - so far so good!

Thanks again for anyone who is still following me, and I hope to bring this blog back to new life in the future!

Tuesday, November 27, 2012

November

Alright kids, I'm sorry for the long, long delay. The truth is, I've tried to update this blog from my phone about three times since the last post but it keeps ... not updating. What a shame! I'll have to do it the old-fashioned way.

So here's what I've been up to lately.

Playing with a bunch of new Golden acrylic samples, I think Prussian Blue Hue and Azurite Hue are my new favorites.
A commission I finally finished for Luis.
I just finished these the other day. I've been pressing flowers forever and had no idea what to do with them, so I finally just slapped them on some watercolor silhouettes I was doing at the time. I rather like how they turned out!

I've also got a bunch of projects in the works, including finally setting up an official site for Poor Mick and a real updating schedule, which should happen this weekend! Which goes along nicely with the new chapters I just finished writing and now am going to start drawing. (85 more pages, agh, how am I going to get it all done...)

Also perhaps a mini comic in the future...Or two...or five...

As always, I'm much better at updating my tumblr than this blog, if only because it will actually update from my phone, so you can check there for more art updates if you are so inclined! But do check back here from time to time, especially in the future - lots of things happening after the holidays! I'm very excited!

Thanks for sticking with me, everyone! Talk to you soon, xoxo.

Monday, October 8, 2012

Pots.

My roommate and I spent a while painting terra cotta pots on a whim... I think they turned out awesome! I did the octopus (duh) and the center one, the one on the right is hers. After a spray with some fixative, they're all set for planting! Can't wait!

Monday, September 17, 2012

In Progress

Well, I'm back! Here's what I've been working on in the few months I've been gone:
Our house is now doing a sort of themed painting night every once in a while. This is the newest theme, and it is 'Monsters'.
The previous theme was 'Hindu Gods,' and I chose Matsya, the first avatar of Vishnu.
I am also spending a bit of today working on this piece, a companion to the Don't Give Up The Ship one I did a few months ago.

Also new and exciting: I now have a website, and I know the '.net' ending is totally lame but there are about five thousand kat martins out there, so I couldn't find one that worked better, alas.

Also, I've been working on a comic starring everyone's favorite sailor, Mick Spinner. It even has a website, although I have yet to add content. The comic, as well as a BUNCH of prints and things, is going to be sold at Ape this year! That's right, I'm going to a convention for the first time in my life, oh man. My friend and coworker has a table and I'm tagging along for the ride.

I've also completely redone my bedroom, gone on a trip to Santa Cruz, worked on a few commissions, got an iPhone (!!!) and I may or may not have an awesome project brewing with none other than the fabulous Kelsey. Phew! It's good to be back!

Sunday, July 15, 2012

Tuesday, April 24, 2012

Finished

So this guy is finally finished, framed and hung on my wall. I must say I enjoy it! I especially like the scars I added to the sperm whale's head in white ink - I'm not sure if you can really see them, but I promise, they're there. A quick recap:
This was the before. Yay! Always nice to see something through to the final stages and be able to look back at the very first draft.

I spent the day watching Downton Abbey, drinking tea, and painting. It felt awesome. I also cleaned my room, did some chores, and crocheted a bit. Talk about progress!

I've been reading/watching Harry Potter a lot lately. Sirius Black and Remus Lupin are, besides Fred and George of course, my favorite characters, hahaha.
Well, that's all for now. Xoxo!

Tuesday, March 27, 2012

Tutorial: The Waterbrush

Kids, let me let you in on a little secret to art-on-the-go: the almighty waterbrush. I take one of these babies with me everywhere I go that I might be doing some sketching - it makes watercoloring a snap on the go.

All you need for watercoloring on the go is a waterbrush, watercolor pencils of your choice (I use Derwent Inktense pencils, which are insanely intensely colorful), and a watercolor block of your choice. (I use Fluid watercolor blocks).

The waterbrush screws apart at the base of the brush.

Gently squeezing the bottom part, stick it vertically under a waterspout, filling it up with water. Once it is all full, just screw it back together and you are ready to go.

Using your Inktense or other watercolor pencil, draw yourself a little design, sketch, whathaveyou.

Give the base of the brush a squeeze to get the water flowing into the brush bristles.

Then just apply a wash over your design, spreading out the color of your pencil. If you draw a light sketch it will usually spread farther. I did a pretty heavy outline, so it didn't spread too far.

If you draw over the sketch while it's still drying, the pencil color will usually be more vibrant, and darker. Feel free to draw and wash away to your heart's content.

And voila! You're all done. Wasn't that easy, fun, and transportable? You can take it anywhere. These babies are all I took to Ireland and Paris with me:

Thursday, March 8, 2012

Still In Progress

Apparently I can't take a decent photo of this piece to save my life. Suffice it to say that the color is way off, but hey, check it out, it's got color now! I'm nearly nearly nearly done. Can't wait. I haven't spent this much time on something in forever.

Tuesday, February 28, 2012

Work and Science

Here's a piece that's currently in the works. Just finished inking it, so now I can start with the painting part, aw yeah!

Been going through my shell collection - it is getting monstrous! I want to classify them all, but after browsing a few websites, I still can't seem to tell the difference between some shells and others. Also, I just learned that keyhole limpets and true limpets are two different things. Science! It's too bad I'm getting into science now, and not when I was in school when it could have saved my grades a little.

Last but not least: I happened upon a giant damaged canvas at work, managed to bring it home, and my four roommates and I decided that we should make a house-collab painting. Needless to say, it sat on the wall for a few months, white and untouched, but finally the other week we decided to go for it! With two Saturdays and the help of free brushes and paint (thanks, art store job) we managed to make a masterpiece. At least in our minds. Collab paintings are so so so much fun.

Well, that's all from me for now. But, oh! There are going to be brand new prints in the shop very soon, so keep your eyes peeled! Later!

Friday, February 24, 2012

Antiquing Paper: A Tutorial

Hiya everyone! So I'm working on a little project that requires some old-timey looking paper, so I thought I'd whip up a little tutorial for two simple ways to antique some paper!
First and foremost, I am pretty sure there are other ways to do this. There are dozens of tutorials on the internet, just use a little google-fu if you want other options. This is just a quick tute on my two favorite (and suuuper easy) ways to do it. So anyway, let's get started!
Things You Will Need: Paper (I used some printmaking paper - it might be Stonehenge or Rives, but almost any paper will work.), Tape (artist's tape or low-tack blue tape will work), Watercolors, Dr. Ph Martin's Concentrated Watercolors,
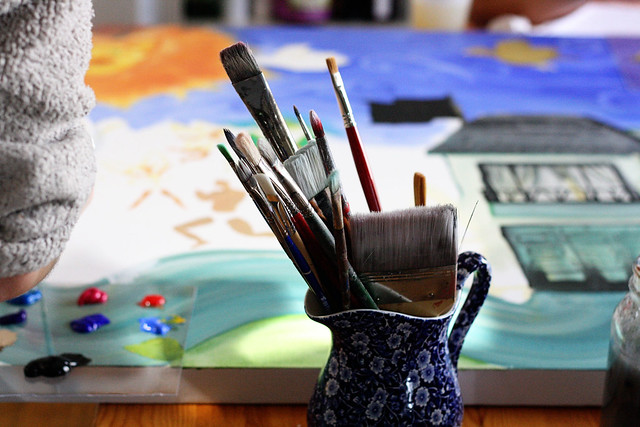
 Brushes, and Walnut Ink.
Start by taping your paper down on all edges. This is important to minimize wrinkling, especially if you are going to be using paper that isn't as heavy as printmaking or watercolor paper. I usually tape my papers to whatever I have lying around - in this case, it was the back of a sketchbook.

Method One: Watercolor

First, get your paper as wet as possible. I mean soak it with water. Then take your watercolor and cover the whole surface of the paper with it.
YEOW, that is yellow. Time for some emergency texturizing/de-yellowfying:
Dab away with a paper towel. This will not only calm down the saturation of the color, but it will add that awesome texture that makes it look more vintage!
Now take a darker color, like burnt sienna, and, loading your brush with a lot of the color and a lot of water, hold it over the paper and flick it sharply with your index finger. This creates a rad splatter pattern! I didn't worry about getting it on both sheets of paper, since I was going for antiquey anyway.
Bam! (We're working on the left one - ignore the right one for now. We'll get there.) Check out that rad texture. Dang, that is awesome. Pat yourself on the back. But, yknow, it's still really bright for a supposed-vintage piece of paper, isn't it? That's where Dr. Ph Martin comes in.
Now that is what I'm talking about. Take the dropper in the bottle, drip a few drops of concentrated watercolor onto your paper, and then using a brush with a lot of water, spread it around. If you get too much on there, feel free to take a paper towel and soak up a little of the excess.
Ba-bam! (On the left.) Now that is money. Oh, what's that? You want to learn how to do the one on the right already? Alright, let's do it.

Method Two: Walnut Ink

This method is even simpler than the other one. To begin, do what you did before: get your paper nice and wet, then lay out a wash of walnut ink. Feel free to let it drip, and don't worry about getting an even wash: the more imperfect, the more perfect it is! Use the ol' flick trick a few more times, too.
And here we are already! If you want a little more texture, you can drip a few drops of water all over the paper, like I did:
I might have overdone it a bit. The beauty of watercolor/ walnut ink/ all of the above is that you can keep adding to your piece and keep taking away as much as you want.
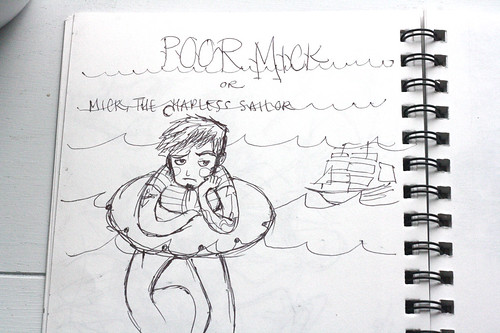
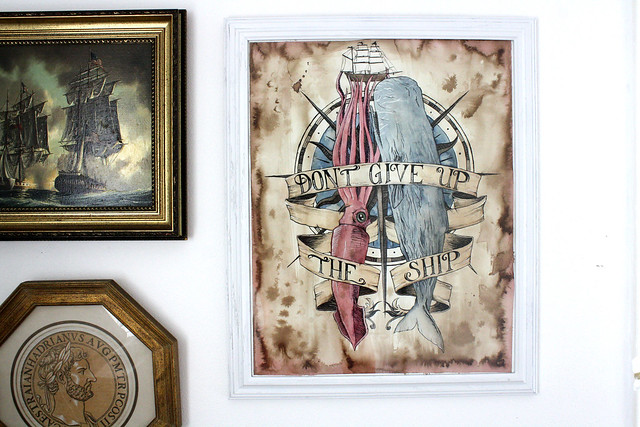
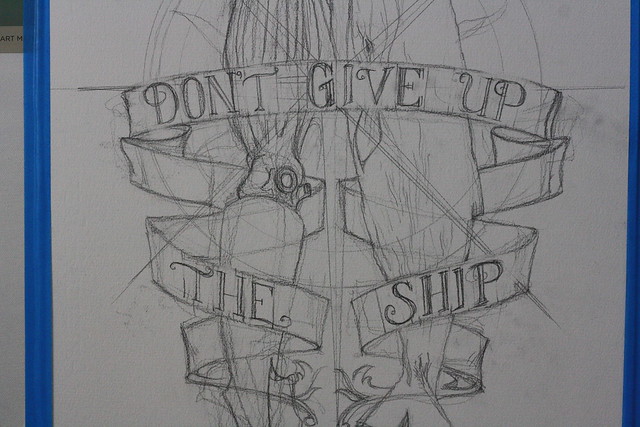
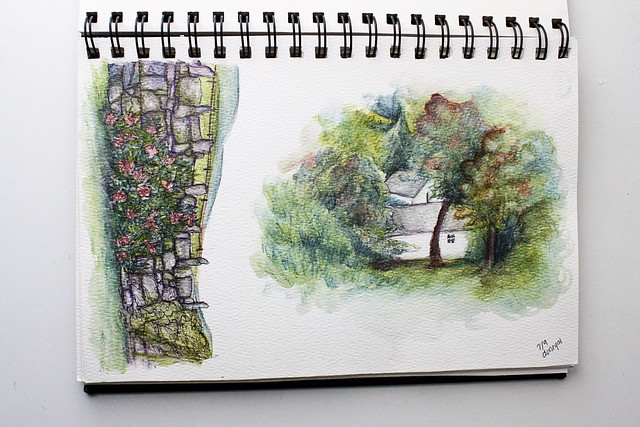
And that, friends, is all there is to it. Two ways to antique paper very speedily. Have fun! Write some historical letters! Do some botanical sketches! Print on it! So many possibilities. As for me, this paper is going to become some Latin labels for a little project I'm working on. Want a sneak preview? Here you go:
Aww yeah.